A friend of mine picked up this cute little cabinet from his grandmother and immediately thought of me. The inside was a wreck, someone had hot glued croqueted doilies to the shelves and something had spilled on one of the shelves and turned hard and resin-like. The outside looked great though and it was totally unique so I just had to have it!
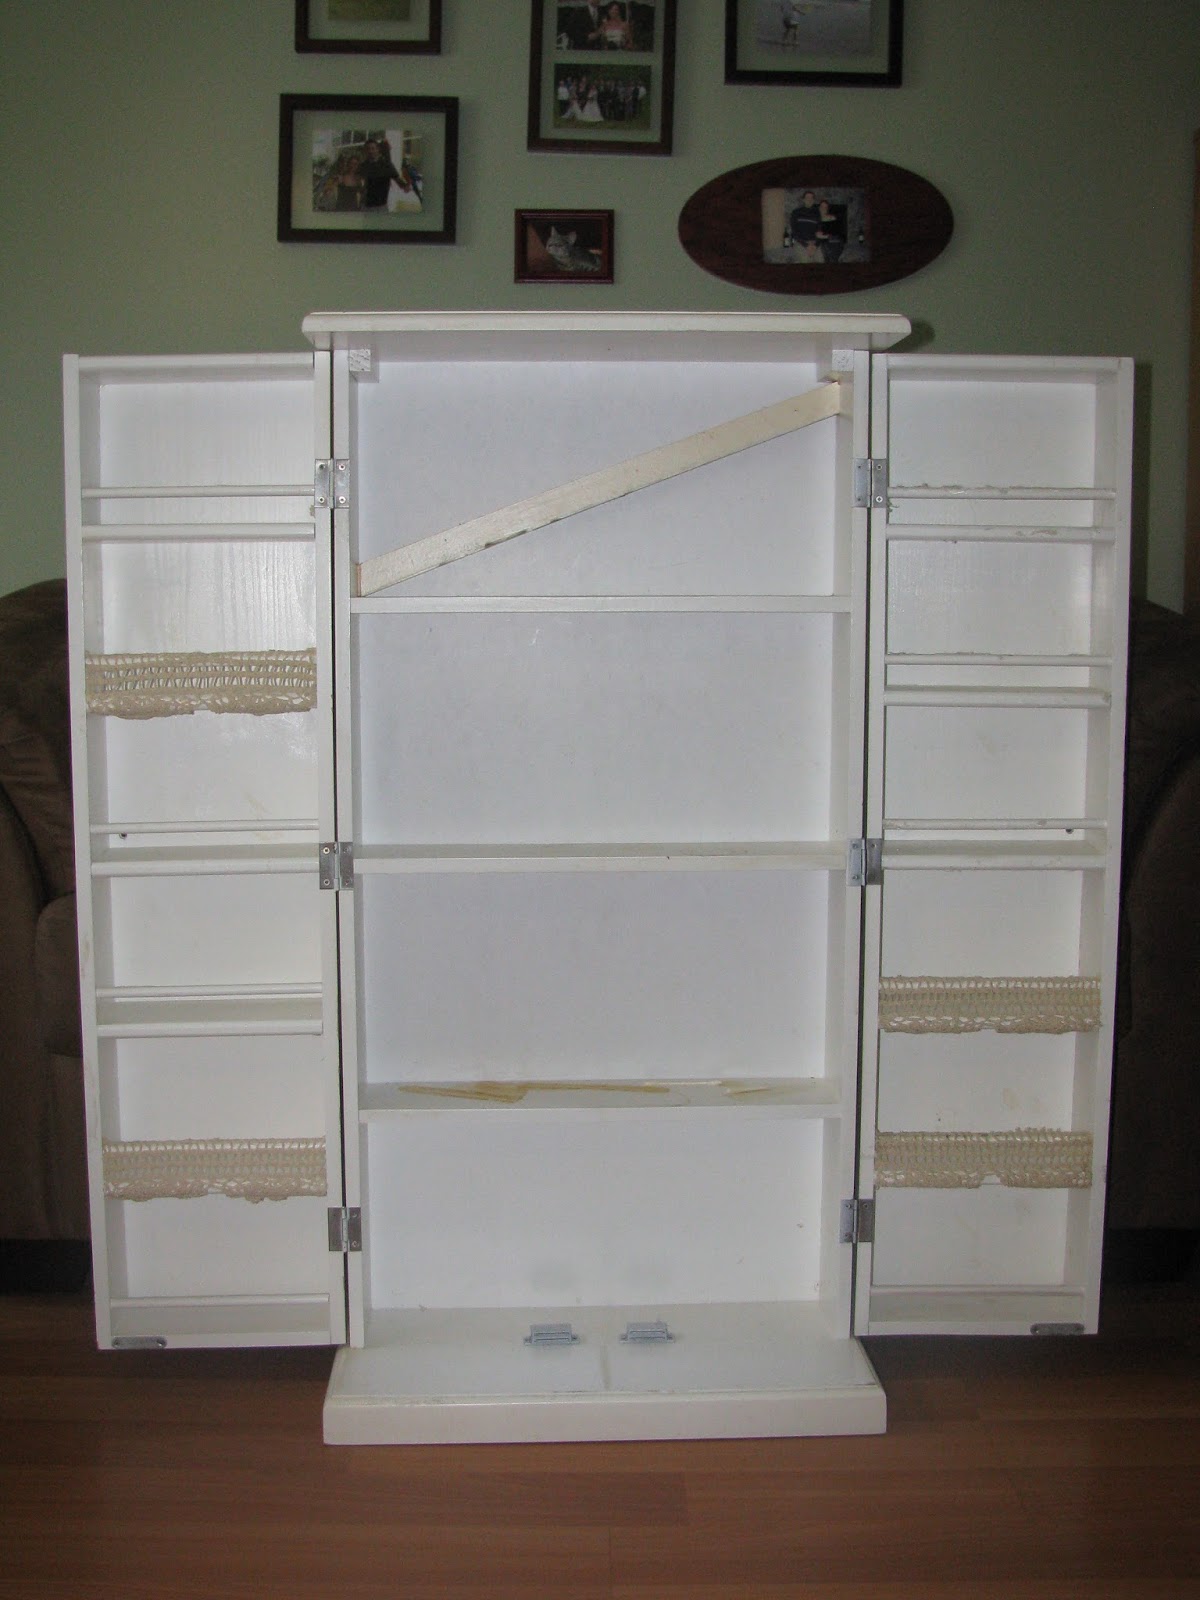 |
| The fabulous inside |
 |
| Filthy but cute! |
I scrubbed it up and scraped all that awful hot glue off then sanded it lightly. The inside was pretty stained and despite my best efforts to get off that resin-like spill (I even used paint stripper!) it made it apparent that it wasn't going anywhere so I decided to paint the inside a slightly darker color than the outside. I decided right off there was NO WAY I was going to hand paint the inside so I taped it up and used some news paper and spray painted the heck out of the inside. The outside got primed and painted a high gloss sand color I had left over from another project.
 |
| Ready to spray! |
 |
| Already a huge improvement |
 |
| Reassembled with a new coat of paint |
 |
| Why yes, there is a school bus and taxi holding my doors open ;) |
It still needed...something. After some Pinterest perusing I decided I really, really, REALLY wanted to try antiquing using tinted glaze and this was just the project to test it out on. I picked up some pre-tinted glaze in a smallish bottle at Lowes and some el cheapo foam brushes and planned on antiquing this bad boy during my little guy's next nap.
It was kind of nice really. It was an overcast rainy day so I spread out my drop cloth in the living room, turned on some cheesy ghost hunting documentary on Netflix (don't judge) and glazed away. I wore gloves because this time I was going to preserve my at-home mani dammit!
 |
| Got all my stuff together, why do I not have a glass of wine with this?! |
 |
| Subtle but it came out great! |
I'm really happy with this one. I was going to keep it but it don't have a place or a purpose for it so I've decided to sell it instead. I'm not sure what it's intended purpose is but it would make a great cabinet for a crafter, painter or even in a pantry!
A few notes about antiquing using glaze:
I used this Valspar Antiquing Glaze which is tinted in Asphaltum (black). It only cost a little over $9! The instructions on the bottle say to use a damp cloth and rub in using a circling motion and then wipe off excess. I applied it liberally with a foam brush and then used an old T-shirt rag that I could just throw out afterwards (I'm not big on clean up) that I could rub it down with. I ended up with a somewhat subtle finish which I really like. The glaze landed in all the crevices and stayed as well as slightly tinting the flat surfaces.
 |
| A close up of the finish (please excuse my yoga mat :) |
Lessons Learned:
1). A little bit of antiquing glaze goes a long way so start with the smaller bottle like this. I used maybe a 1/4 cup for this whole project so this bottle will last me a while.
2). Wear gloves! I was so glad I did. This stuff gets messy.
3). Don't be afraid to try this technique. It was surprisingly easy to work with! It has a 15 minute dry time which gives you plenty of time to obsess over how much gets left behind on your project as long as you work in sections.
I am so glad I tried this out, you see it all over Pinterest but for some reason I wasn't into it until I saw
this and
this. I'm definitely looking forward to trying it out on other things and seeing it's many different applications! Have fun and go antique something!


SO talented and crafty! Miss you
ReplyDelete